Here is a short tutorial how to add a few Windows XP / 2000 / 2003 on the same USB disk.
If using the program for first time, it’s highly recommended to select the auto-format option.
Use FAT32 if you’ll be adding later on Windows 7/8 sources and you’d need to boot in UEFI mode.
If you wouldn’t be needing UEFI boot, NTFS should be your first choice, as XP Setup from FAT32 formatted volume could be quite slow, due to limitations of the FAT32 driver in XP. Here is a quick comparison on FAT16 vs FAT32 vs NTFS.
1) If you have your Windows XP or 2003 source as an ISO or similar image, first mount it as a virtual CD/DVD using the free ImDisk for example, or extract its contents to a folder.
A copy of ImDisk is included in WinSetupFromUSB\files\imdisk\. Run install.cmd to install it.
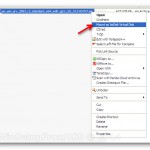

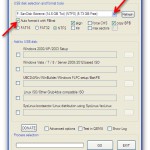
2) Select your USB disk in the drop-down menu and check the auto-format it with FBInst option:
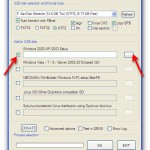
3) Select the Windows XP/2000/2003 Setup option and press the corresponding browse (…) button:
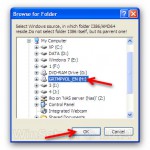
4) If you need to use any of the advanced options, now is the time. They are explained in depth here.
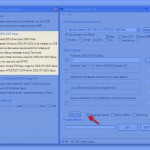
5) Press GO to start the process.
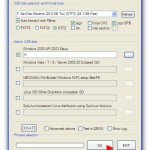
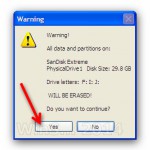
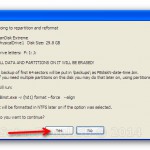
6) If the auto format option was selected, please do read carefully which disk is going to be reformatted, all data is going to be wiped out, the click OK on both dialogue boxes:
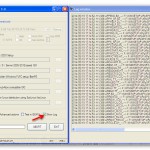
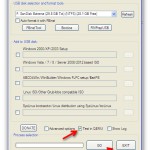
7) You can watch detailed progress of what is happening by selecting the Show Log option:
In a few minutes you will see Job Done message, the first source has been transferred:
8) Now let’s put another source of this type, that would be Windows 2003 x64 SP2, as well as Kaspersky Rescue Disk ISO image.
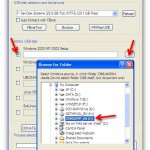
Right click on the Windows Server 2003 ISO image and mount it the same way:

9) Use the advanced options if you need to fine tune it
10) Select Linux ISO/Other G4D compatible ISO and browse to the Kaspersky Rescue Disk ISO file:
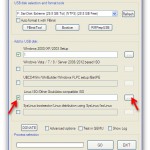

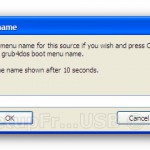
You can provide custom boot name, the default one will be automatically accepted after 10 seconds:
11) Press GO again and wait until the Job Done message is displayed:
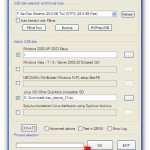
12) That’s it. You should now have a USB disk with XP and 2003 x64 Setup as well as Kaspersky Rescue Disk.
The same way you can add other sources, you only need to remember to add sources of the same type one after another, i.e. select first set of sources, press GO, wait until finished, select second set of sources, press GO and so on.
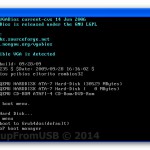
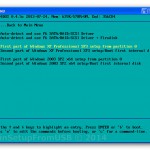
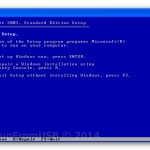
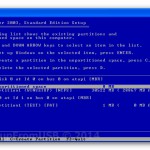
13) You can now quickly test in QEMU virtual machine how this works, use left CTRL + ALT keyboard keys to exit QEMU:


Your point of view caught my eye and was very interesting. Thanks. I have a question for you.
Thanks for sharing. I read many of your blog posts, cool, your blog is very good.
e
To prirovnanie k „perfect score“ v apkmoblink je trochu zvláštne, ale dôraz na každý detail podľa mňa sedí. Na čo by sa mal český hráč pozerať pri výbere zahraničnej stávkovej kancelárie ako na prvé? Za mňa hlavne na licenciu, možnosti výberu a pravidlá účtu, pričom liderendeportes.com môže poslúžiť na základné porovnanie. Aj tak by som si aktuálne podmienky overil priamo u konkrétnej kancelárie, pretože sa môžu meniť.
Thanks for sharing. I read many of your blog posts, cool, your blog is very good.
Your point of view caught my eye and was very interesting. Thanks. I have a question for you.
Your point of view caught my eye and was very interesting. Thanks. I have a question for you.